
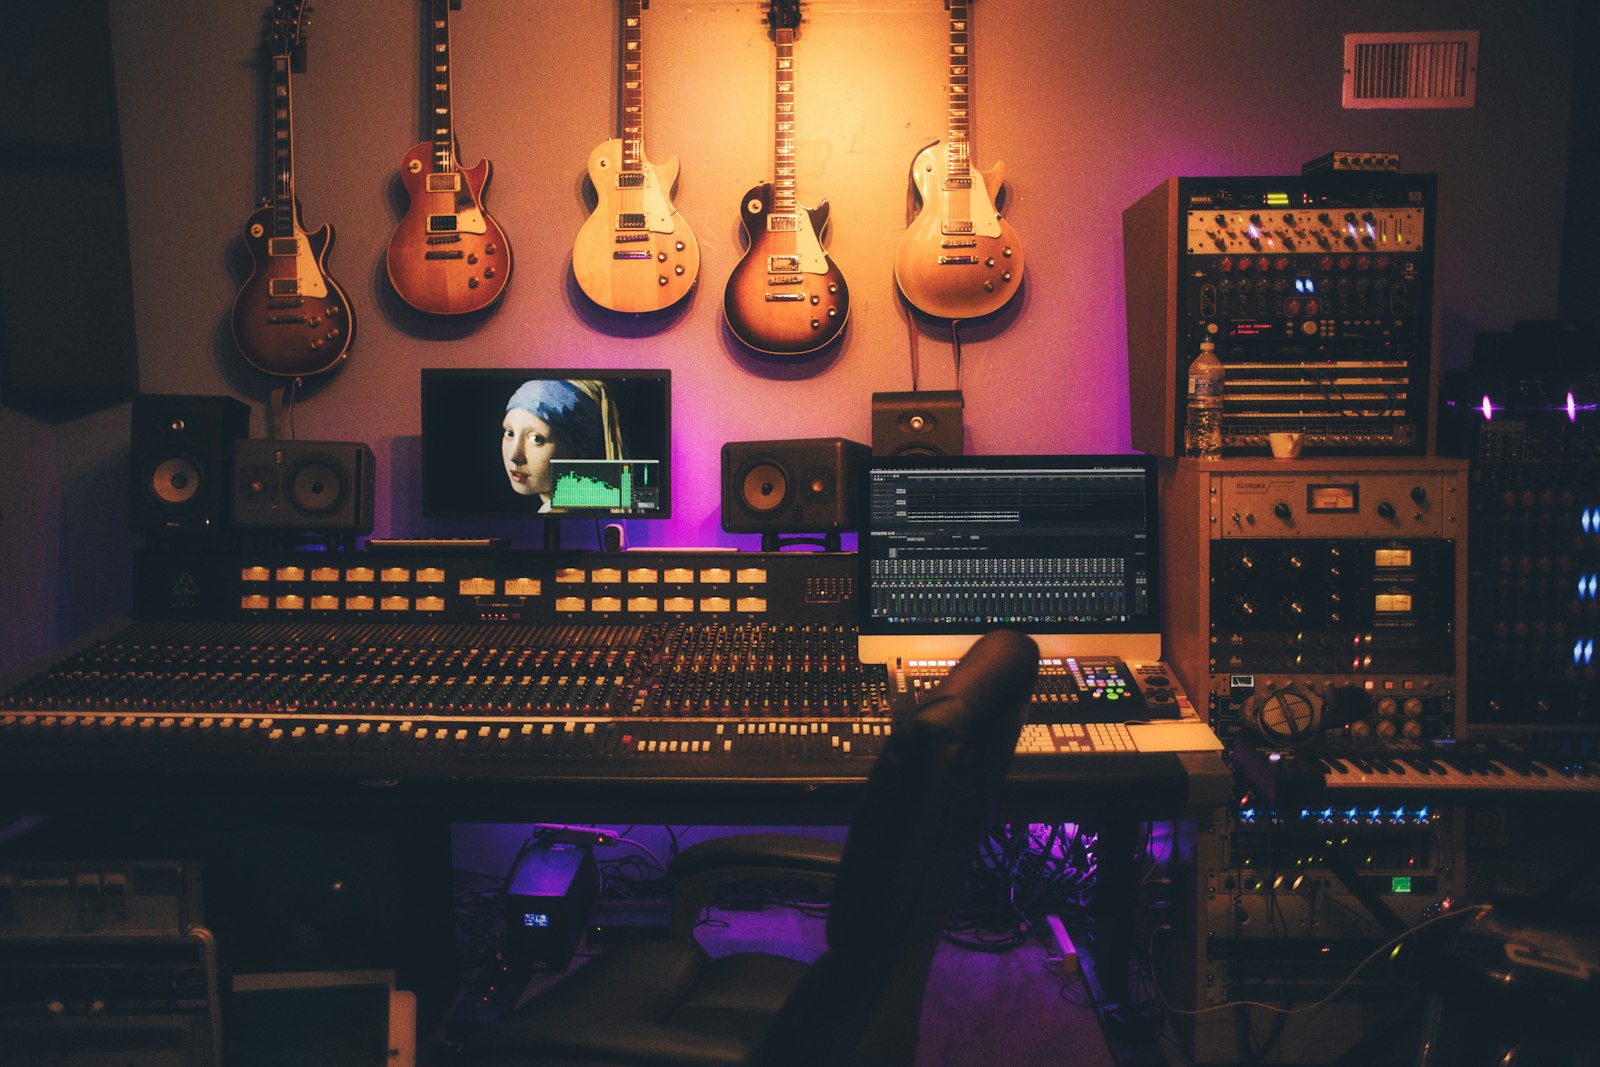
"Why does my song sound smaller on Spotify than on my phone?" It's one of the most common questions producers ask, especially those making loud Haryanvi and Punjabi tracks. Usually nothing is wrong with the upload. The master was pushed so loud that Spotify simply turned it down, and with the punch already squeezed out by the limiter, there's nothing left to come back up. It's fixable before you release.
This guide covers what actually happens to your volume on the big streaming apps, what numbers are official and which are just blog folklore, and a simple checklist you can follow before you upload your next WAV.
First, the thing most artists don't know: the apps turn loud songs down
Every major music app now evens out volume so listeners aren't jumping for the volume button between songs. Spotify is the most open about how it does this. Its loudness normalization page says it adjusts tracks to -14 dB LUFS (LUFS is just a unit for how loud a song feels overall, not its loudest moment).
So if your Bhojpuri DJ remix is mastered at, say, -7 LUFS because you wanted it to hit hard in a car, Spotify plays it about 7 dB quieter on the default setting. You don't gain anything from that extra loudness. You only keep the side effects: flattened drums, a vocal that feels pinned to the front, a chorus that doesn't lift.
A few details from Spotify's own page are worth knowing:
- It doesn't change your file. It measures loudness when the song comes in and adjusts the volume during playback.
- When someone plays a full album, the whole album is adjusted together, so a soft interlude stays soft. In playlists and shuffle, each track is adjusted on its own.
- Quiet songs get raised only as far as their peaks allow. Spotify's example is a track at -20 LUFS with peaks at -5 dB, which it only lifts to -16 LUFS. So a very quiet master can still end up quieter than everything around it in a playlist.
- Premium users can choose Loud (-11), Normal (-14) or Quiet (-19). On Loud, Spotify adds its own limiter.
Apple Music and YouTube: no official number
This is where a lot of YouTube tutorials get it wrong. Apple uses a feature called Sound Check to balance volume between songs, but Apple doesn't publish a LUFS target for artists. Its Apple Digital Masters technical brief makes the same point we're making here: very loud masters can get played back lower and end up sounding weaker.
YouTube has a viewer setting called Stable volume that smooths out loud and quiet parts. According to YouTube Help, it's on by default for regular videos but turned off for YouTube Music and official music videos. YouTube doesn't give a mastering target there either.
So when someone tells you "Apple wants -16" or "YouTube wants -13", treat it as a rule of thumb from engineers, not an official spec.
What to actually aim for
You don't need three different masters. One good master works everywhere. Spotify's own tips are a sensible reference:
1. Aim for around -14 LUFS integrated if the song allows it. 2. Keep the true peak below -1 dB. True peak is the real loudest point after the audio is converted, and it can be higher than what your meter shows on the waveform. 3. If your master is louder than -14 LUFS (common in Punjabi bangers, EDM-style remixes and Haryanvi DJ tracks), keep the true peak below -2 dB. Spotify says louder tracks are more likely to pick up distortion when they're compressed for streaming.
Don't panic if your song lands at -10 or -11. Genre matters. A dense dance track isn't meant to sound like a soft bhajan, and -14 is a target, not a penalty line. What matters is that it still sounds good after it's turned down.
A quick way to check this at home: export your master, then export a version turned down to around -14 LUFS, and listen to both at the same level. If the louder one sounds flatter or more tiring once the volume is matched, back off the limiter a little.
Free tools to measure it
You don't need a studio. The free version of the Youlean Loudness Meter works as a plugin in most DAWs, including FL Studio, which a lot of our Rajasthani and Bhojpuri producers use. Load it on your master channel, play the full song from start to finish, and read two numbers: Integrated LUFS and True Peak.
File checklist before you upload
These are common mistakes worth checking before any upload:
- Starting from an MP3. If your only copy is an MP3 from WhatsApp or a YouTube rip of your own song, converting it to WAV doesn't bring the quality back. Go back to the project file or ask your engineer for the original export.
- Fake high quality. Apple's brief says not to upsample (turning a 44.1 kHz file into 96 kHz) or to save a 16-bit file as 24-bit. The extra numbers add nothing.
- Clipping at the start or end. Listen to the first and last few seconds on headphones. Clicks and cut-off reverb tails are easy to miss on a laptop speaker.
- Long silence. A few seconds of dead air before the singing starts, especially on devotional tracks recorded live, makes people skip. Trim it.
- Different versions with the same name. If you're releasing a "slowed + reverb" or a DJ version, give it its own clear version title so stores don't treat it as a duplicate.
One more thing for devotional and folk artists: you don't need to make an aarti or a Rajasthani folk recording loud. These songs often sound better with more room to breathe, and normalization means you won't be "too quiet" next to film songs on the default setting anyway.
Where RMX fits in
When you upload through RMX Music, your master goes out to 95+ platforms, including Spotify, Apple Music, JioSaavn and YouTube Music. We've delivered 20,000+ tracks for 3,000+ artists and 2,200+ labels. If you spot a problem after uploading, our dashboard lets you cut or trim the audio until the release is approved, so fix it then rather than after it's live.
Our Label plan is a one-time ₹4,500 for life with 95% of royalties going to you, and the Agent plan is ₹15,000 lifetime if you manage multiple labels. If your next song is ready and it passes the checklist, you can create your RMX account here and get it out properly.